Introduction - Utilizing Azure for Compliancy with HIPAA
Welcome back to yet another cloud-focused tutorial. This time, we will be utilizing Microsoft Azure to build a HIPAA-compliant Azure instance with features such as budget alerts, servers, storage, and monitoring services that also align with HIPAA regulations.
This guide assumes that, if you are following along on your own machine, you have already signed up for a free (or paid if you need it) Azure account with the $200 starting credit.
Azure Blueprints
To get a good baseline for HIPAA compliancy, let’s head over to Azure Blueprints. Enter “Blueprints” into the searchbar at the top of your Azure account portal. You should see a blade like this pop up: 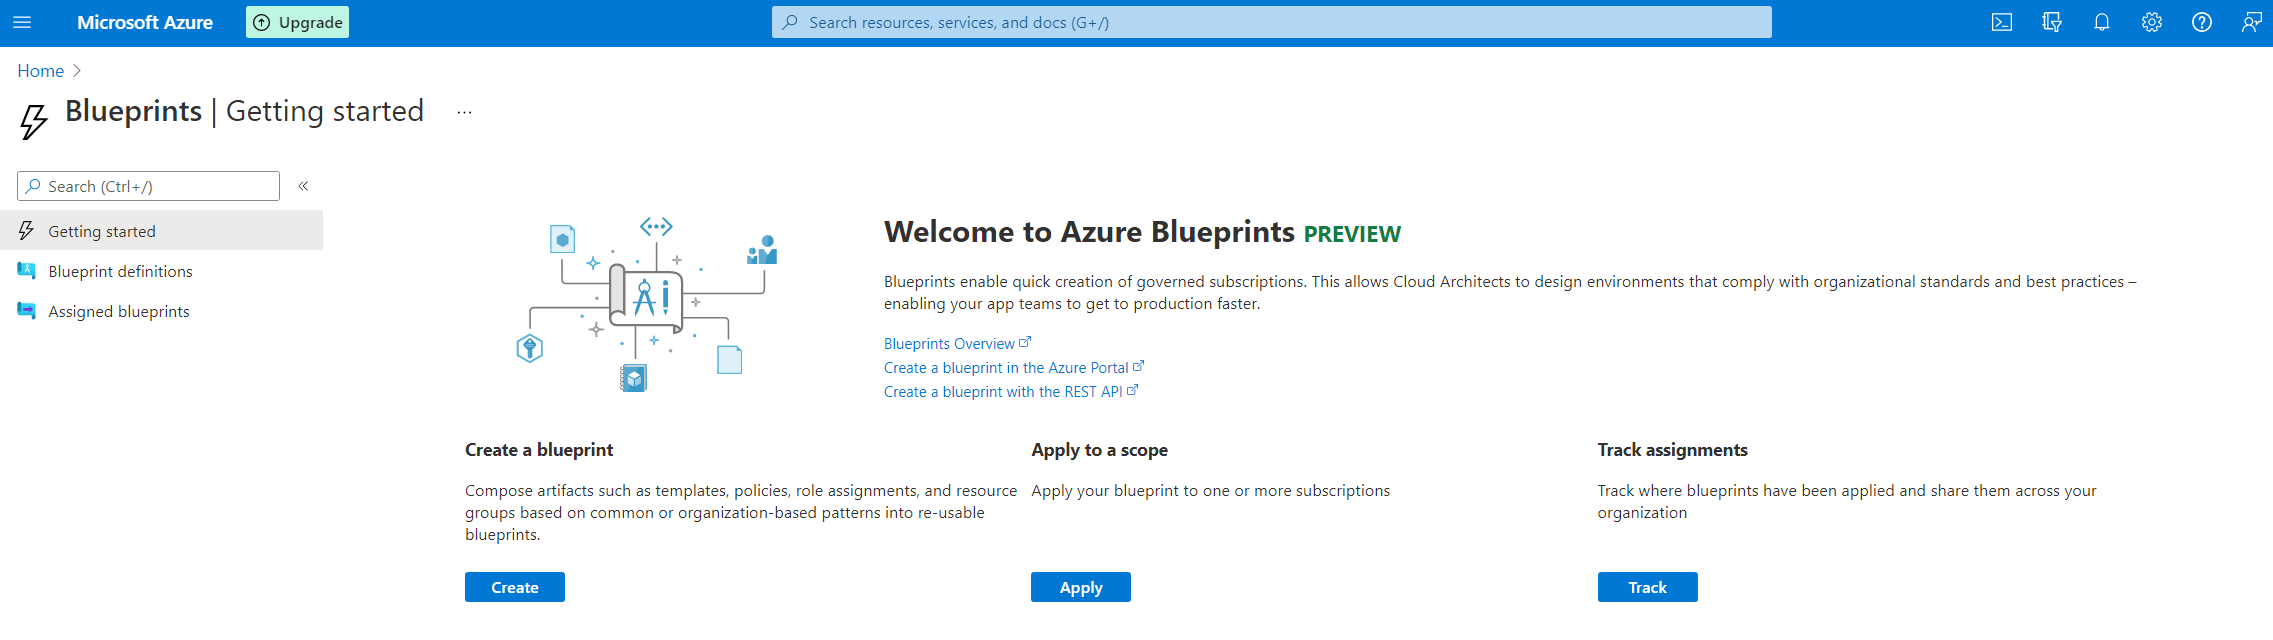
Choose create and let’s begin by searching under the Other Samples searchbar for “HIPAA.” There should be only one blueprint available. This should bring you to the Create Blueprint page. Here, name your blueprint whatever floats your boat, and then click on the Definition Location’s elpises (the blue “…”) and select your default subscription, and then click the blue Select button to confirm the location.
Next, select the Artifacts tab above Blueprint name and select Save Draft. We will make changes shortly to the artifacts in this sample. Use the search bar at the top of the page once more to search for blueprints and then click on Blueprint definitions. You should be brought to the blueprint definition screen, which shows the draft that we created previously. 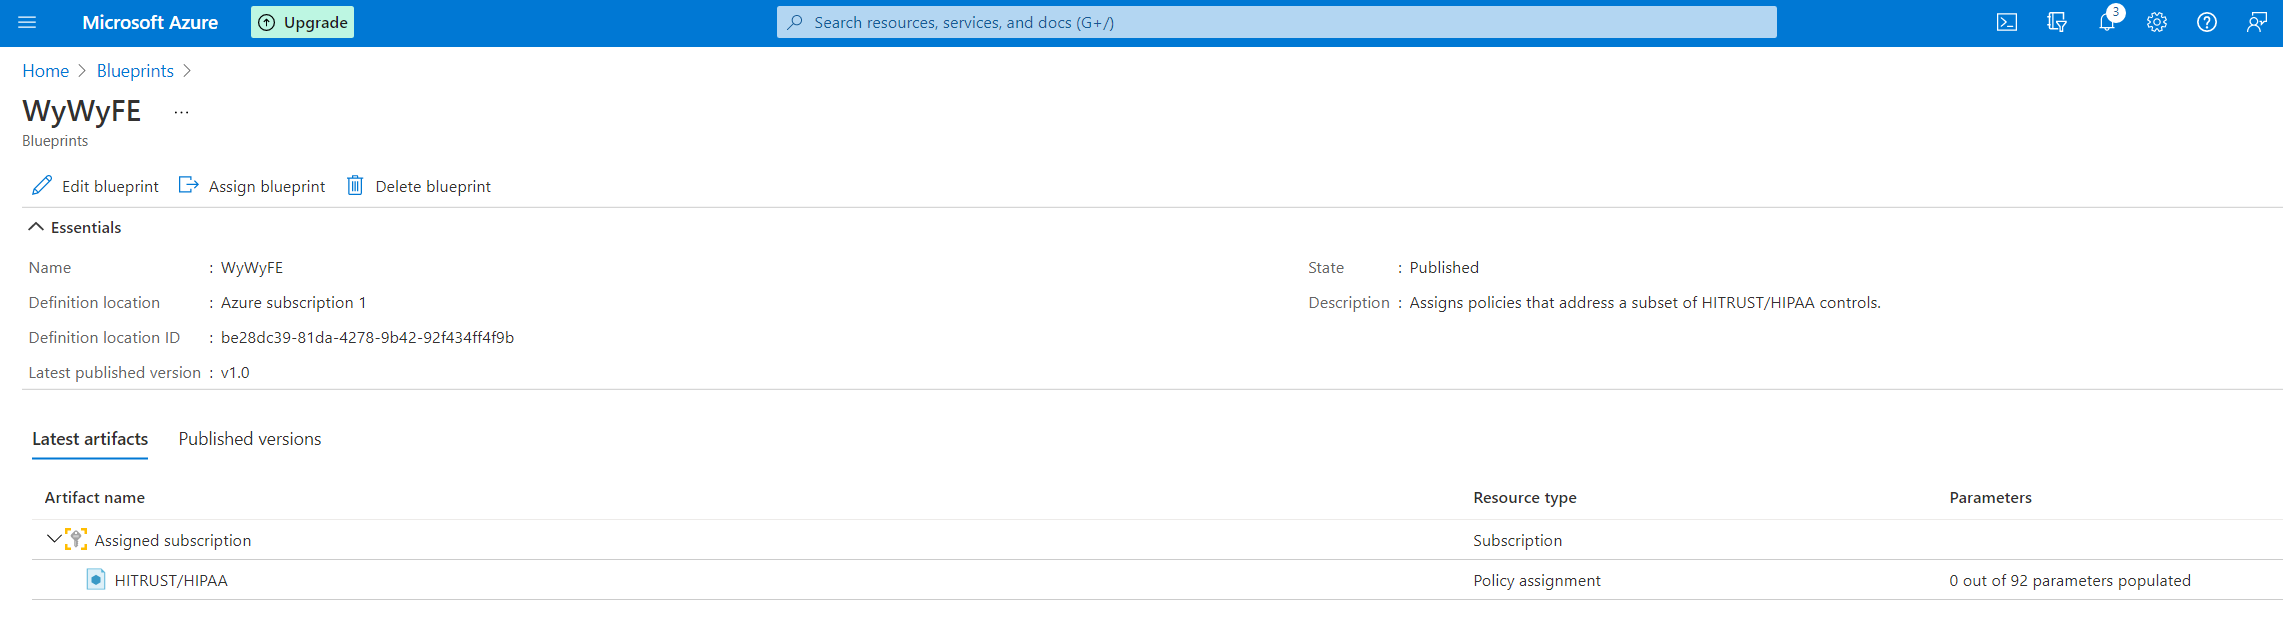
See the WyWyFE blueprint I created? Let’s publish it by selecting the elpises on the far right of WyWyFE and selecting Publish. Provide a version name (I will name it v1.0) and then hit the blue Publish button at the bottom once more.
Now return to the blueprints page via the search bar once more. On the left sidebar, select blueprint definitions and click on your blueprint. Click the assign blueprint button pictured here, and then click the blue Assign button to deploy the artifacts and create the blueprint assignment. It is important to note that the values pictured below MUST be filled out - it does not matter what names you give to these things, but for Azure’s HIPAA template to be created correctly, you MUST populate these fields with values in order for the Assign button to work. 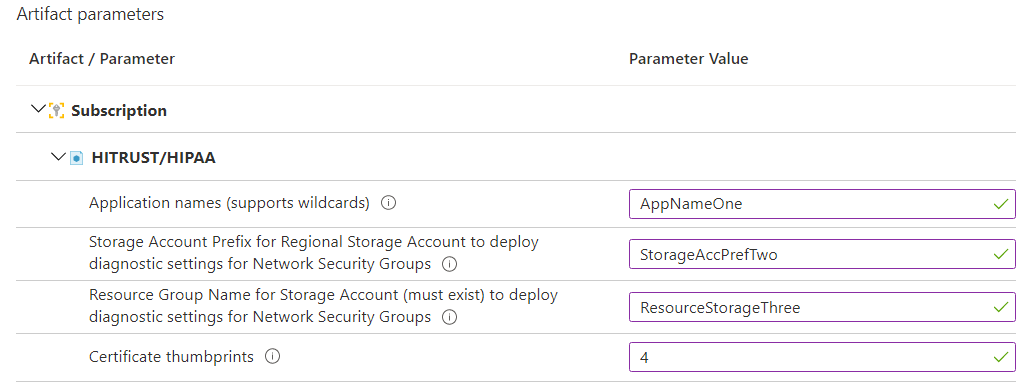
Setting up a Cost Management Budget
In the search bar once more, search Cost Management and then click on the Budgets screen on the left side, under the Cost Management sidebar. 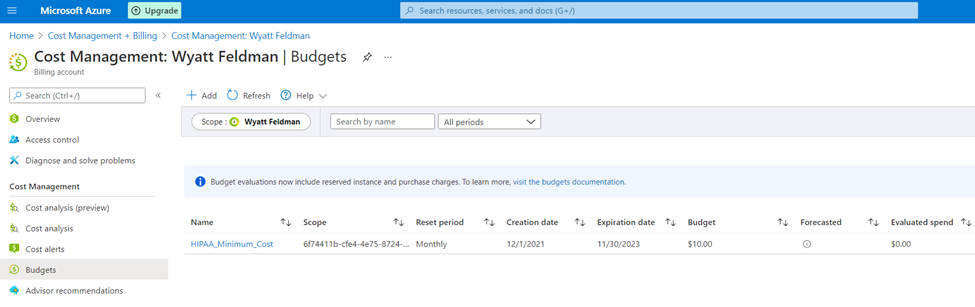
Here, you can set up budget alerts and you can even assign individuals via email or text message to receive alerts based on actual dollar accounts spent using your account. This can be useful, as the budget alerts do not only have to be based off of actual spent amounts. You can also set up forecasted dollar amounts so that you can turn services off before you reach that actual forecasted cost amount. You can see here that I set one up already for my company.
Configuring Servers using Azure Arc
Utilizing the search bar once more, type arc for azure arc to pop up. You will be greeted by this screen. 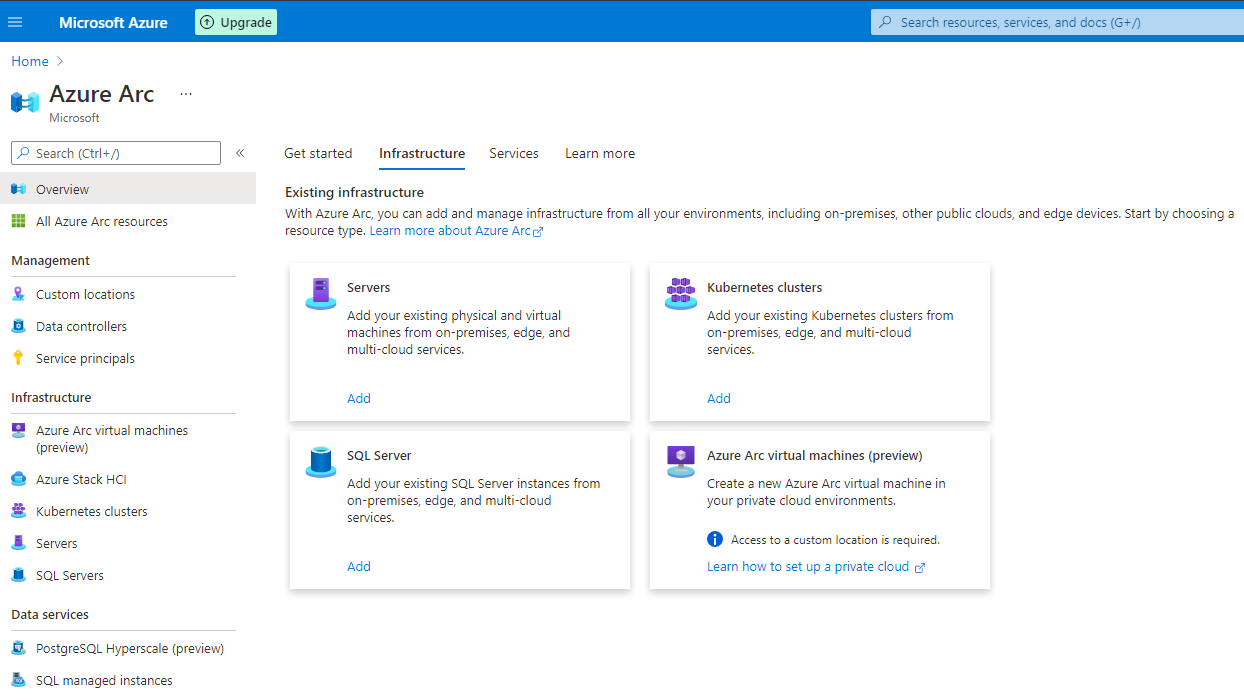
We will be utilizing the default Servers option to add our fictional HIPAA-compliant company’s virtual machines to the cloud in Azure. After selecting servers, you will be greeted with options to generate scripts for how many servers you wish to maintain. For simplcity’s sake, let’s utilize the Add a single server option by clicking Generate Script. You will need a pre-exsiting pool of data to utilize this feature to its fullest potential, but this is just a useful feature I wanted to make the reader aware of. Moving on!
Setting up a Storage Account
Use the search bar once more to navigate to Storage Accounts. Click Create storage account and you will be greeted with a screen that allows you to create a new resource group. 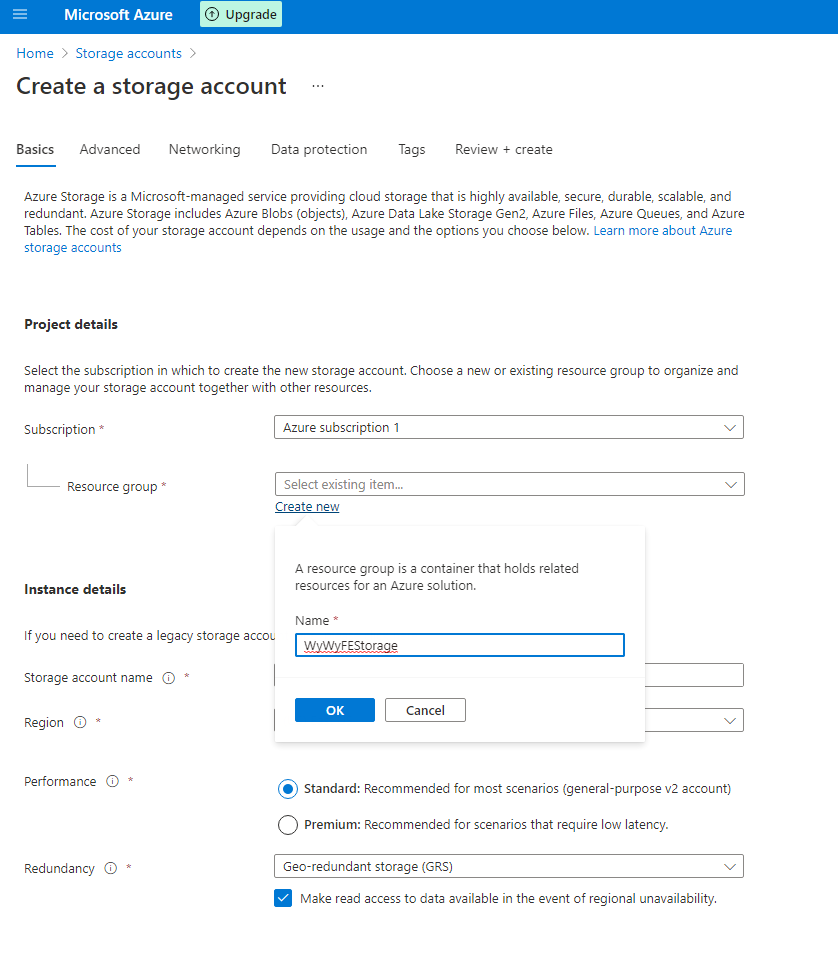
This is where we will hypothetically store user data. After naming your storage account and creating a new resource group, click Review + create and click Create at the bottom left, and you’re done! This service is known as a blob service, just thought you should know.
Configuring Monitoring Services on Azure
It’s as simple as searching monitoring and you’re done! Just kidding. 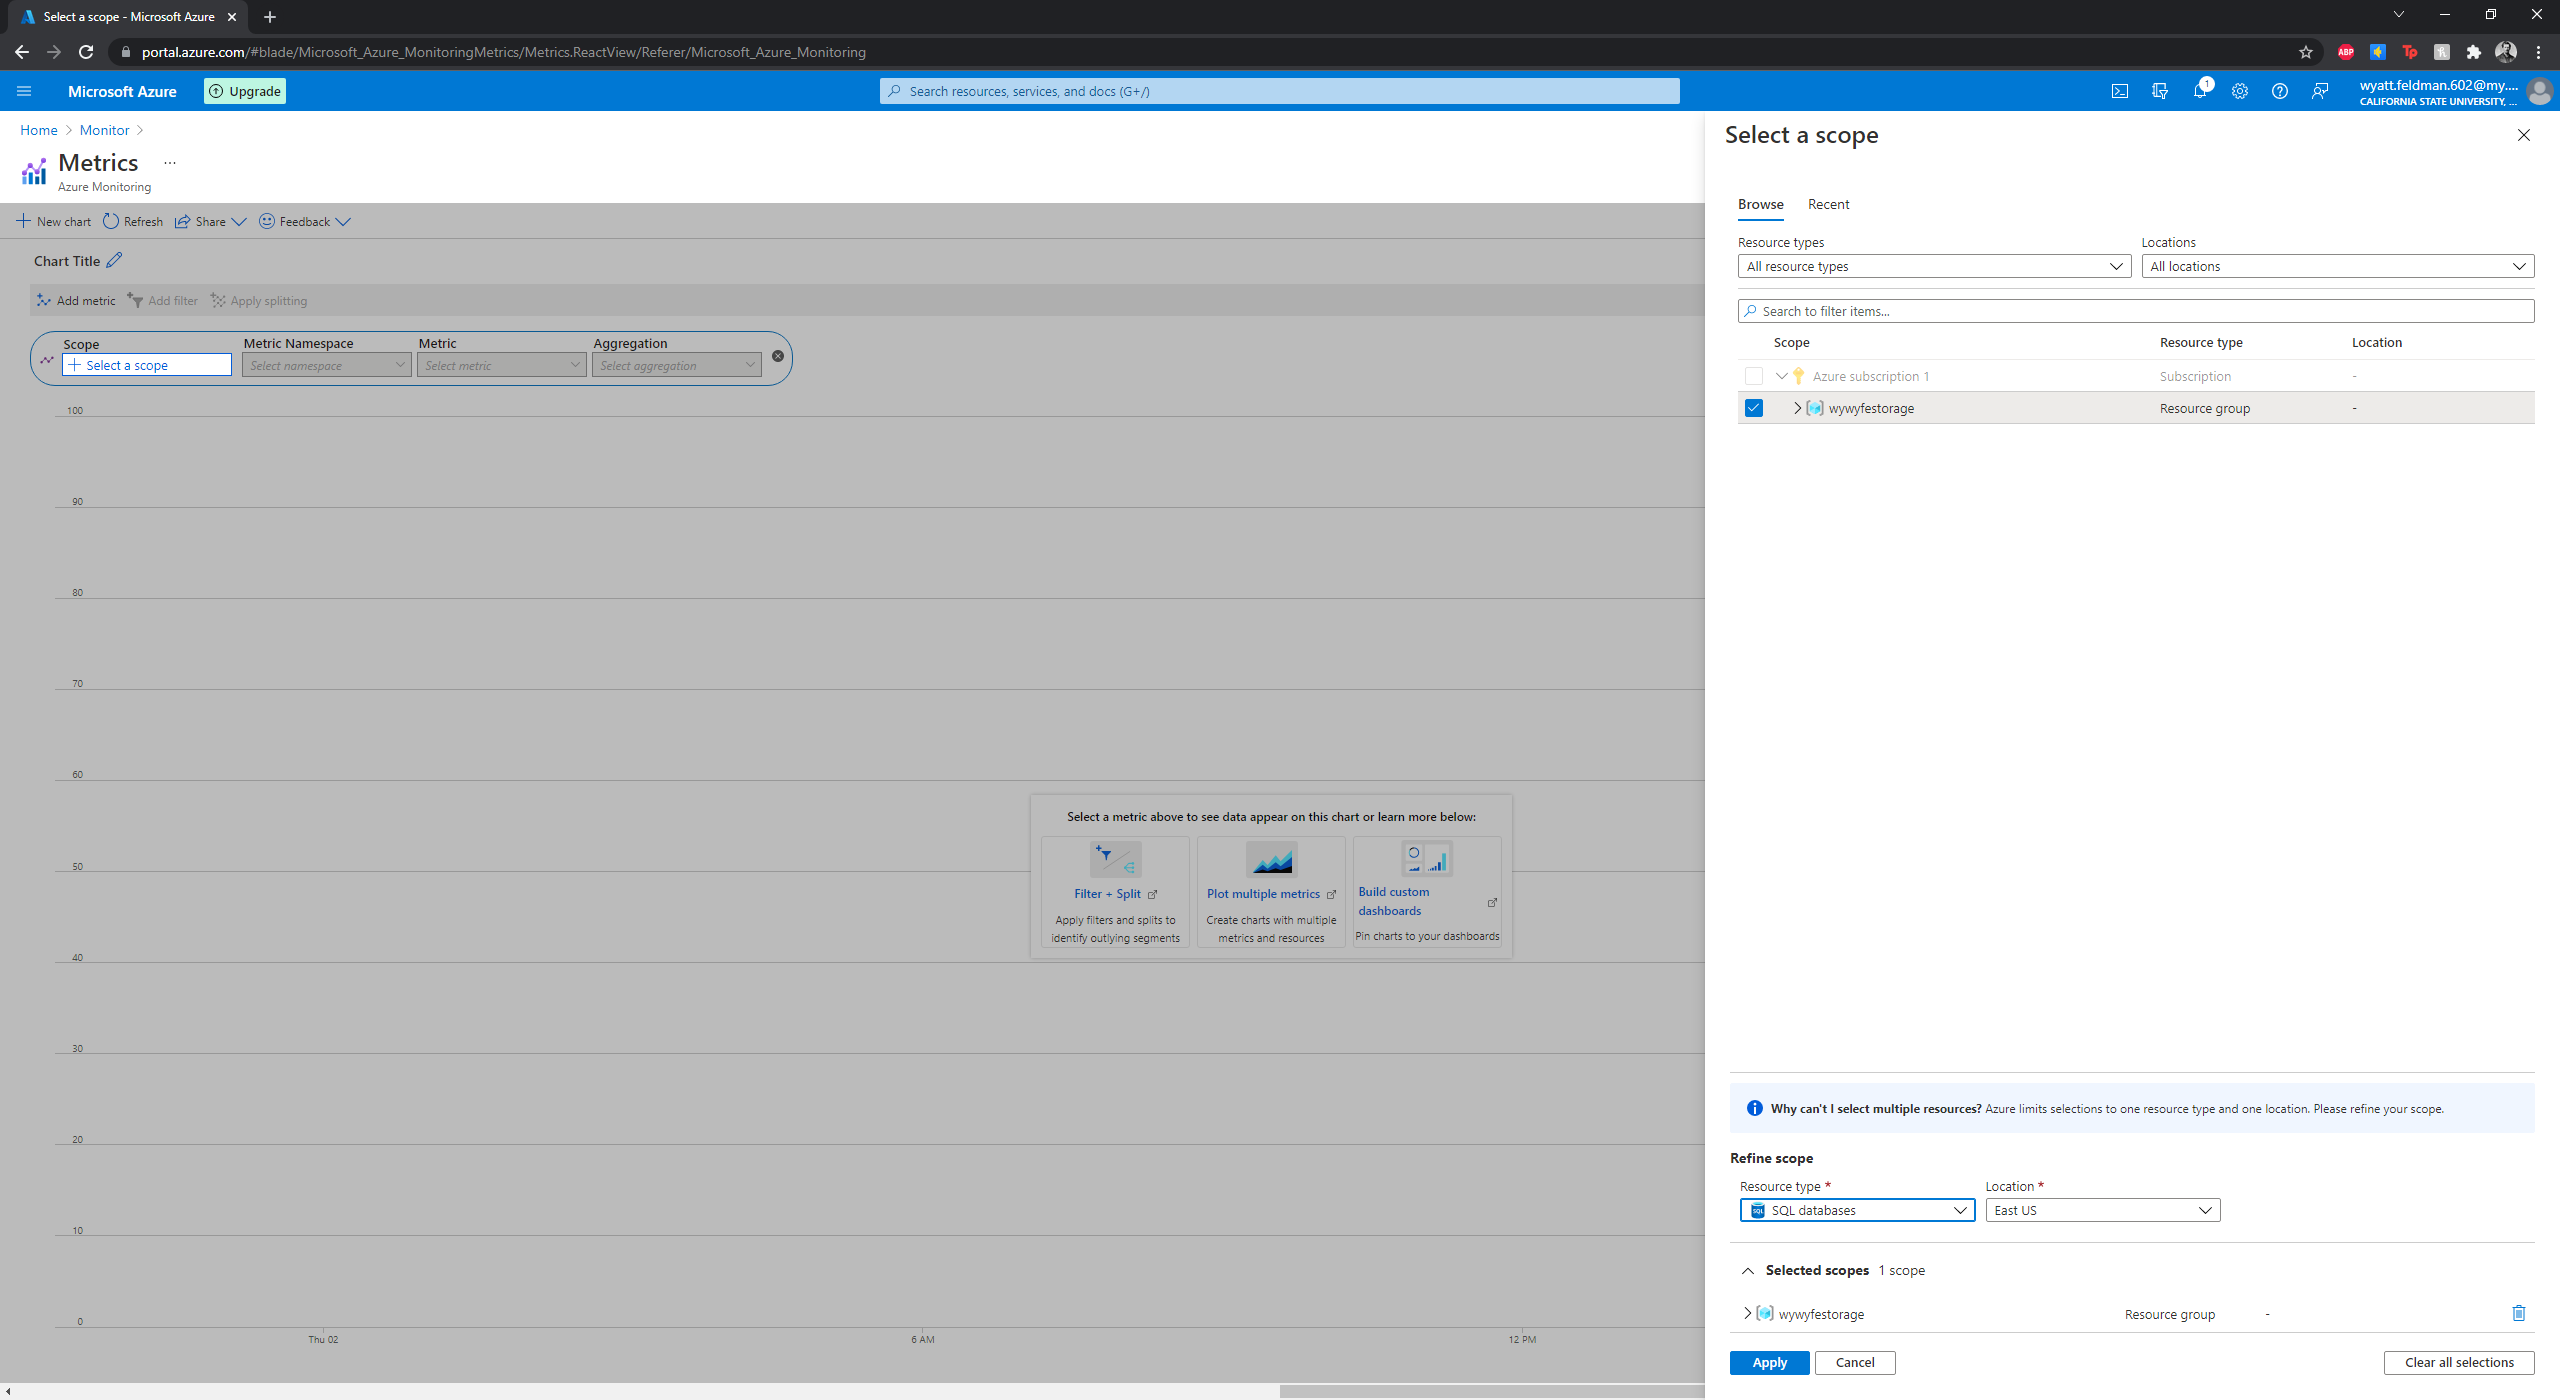
Monitoring is actually a very simple to setup a scope to monitor resources in your cloud with. Here, have a look. 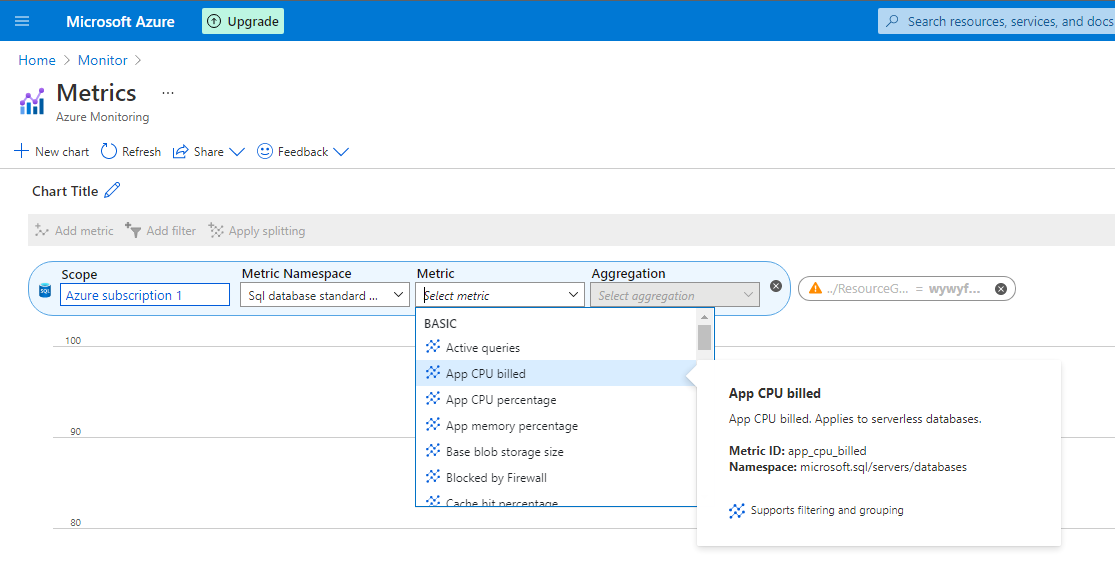
On the right, you will see the storage account we created earlier. Here, I will refine the scope of what we wish to monitor to an SQL Database (I set this database up off-screen). Click apply and you can begin managing the scope of what it is specifically that you are monitoring about this database. Let’s say we wanted to monitor apps that utilize CPU power that cause billing to occur. We can select that metric as picture here. 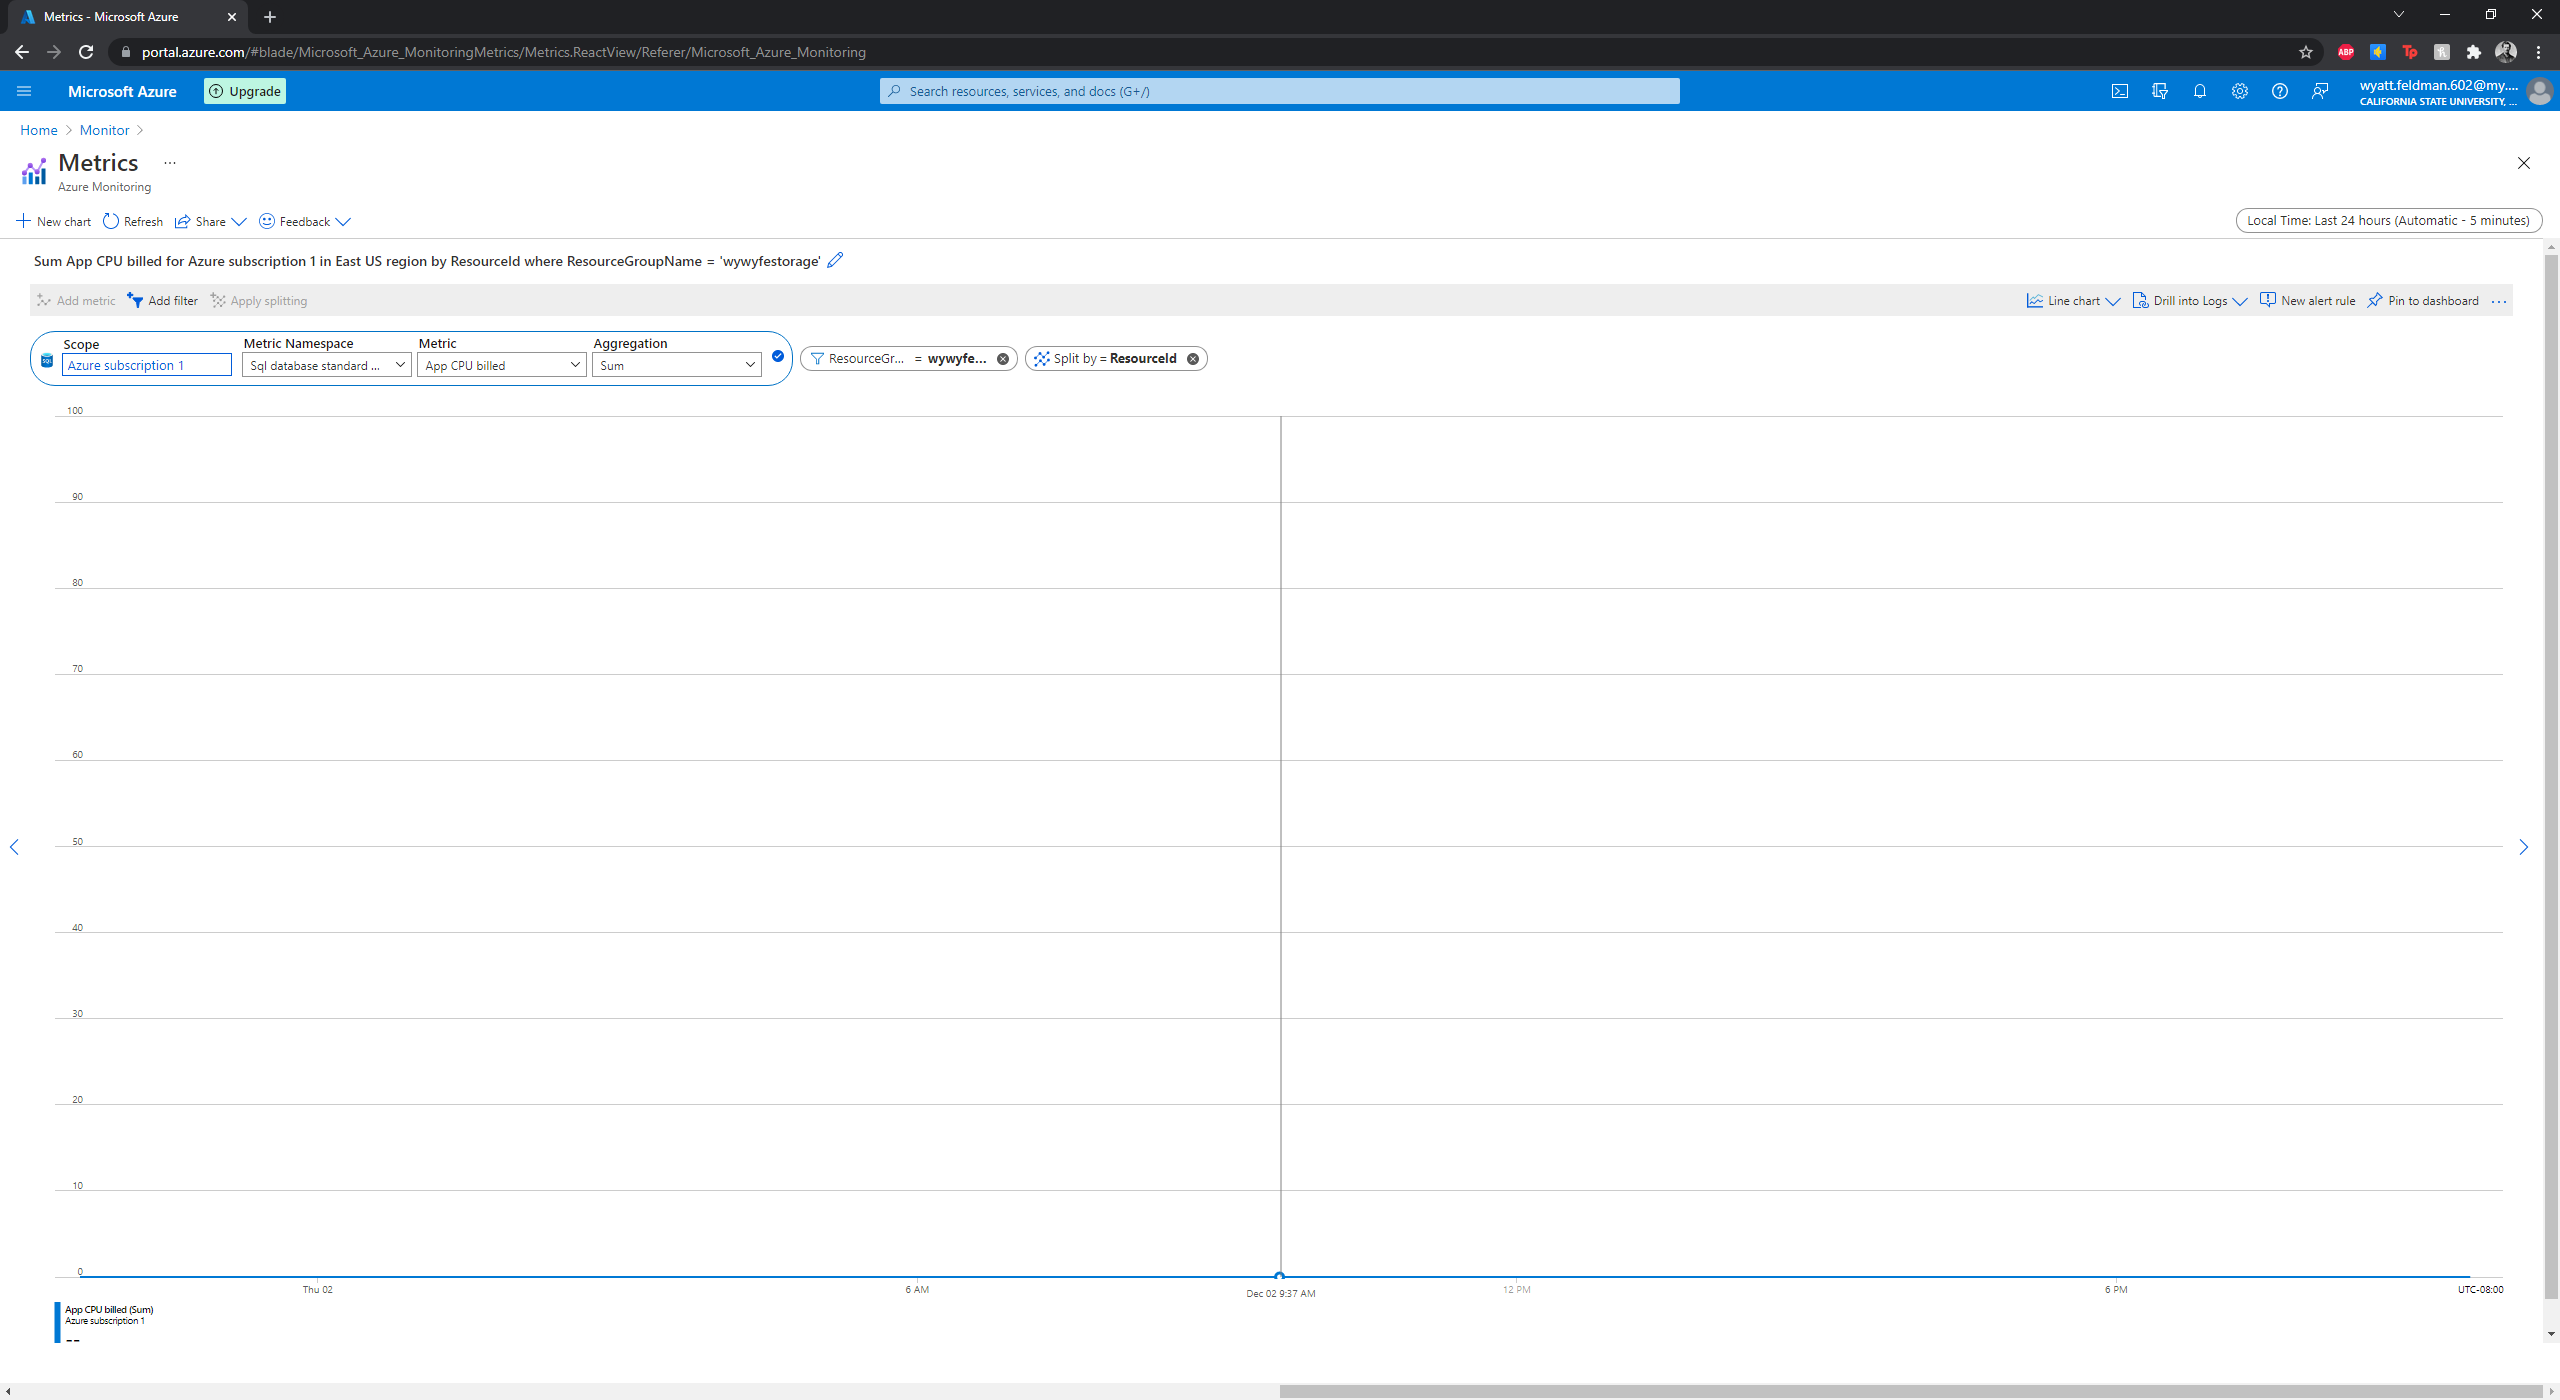
Conclusion
These are all pretty basic concepts, but together, you can begin to see how useful and yet simple Azure really is to use. We set up a basic HIPAA-compliant template for our business, created a large amount of readily-available storage, and are able to monitor specific metrics about that storage in a matter of minutes. AWS allows a similar level of functionality, but assuming you want to be able to play with these services in a good amount of depth, it can be argued that Azure is the better choice to choose for beginners, as it is simpler, gives free $200 credit to new users, and allows people to begin playing with its basic services for free for a much longer period of time than does AWS.
Til next time!